Aim first. Then let the body swing.
Fix the most common scoring problem before you chase swing changes.
Aim vs alignment: the difference that matters
Alignment is how your body—feet, hips, shoulders—points to the target. Aim is where the clubface is pointed at impact. A player can be perfectly aligned to the target yet still misfire if the clubface is open or closed at address. Conversely, a square clubface aimed at the target with a body that’s aimed elsewhere will produce a miss that starts where the body is pointing. For beginners, the practical takeaway is simple: make your alignment the compass, and ensure your clubface is square to the target line before you swing.
- Alignment governs start direction of the ball path.
- Clubface orientation governs the starting direction and curvature.
- The two interact; without solid alignment, swing changes rarely fix misses.
Pro Tip. Treat alignment as the foundation. If your ball starts off and your line looks off, fix alignment first before tinkering with your swing.
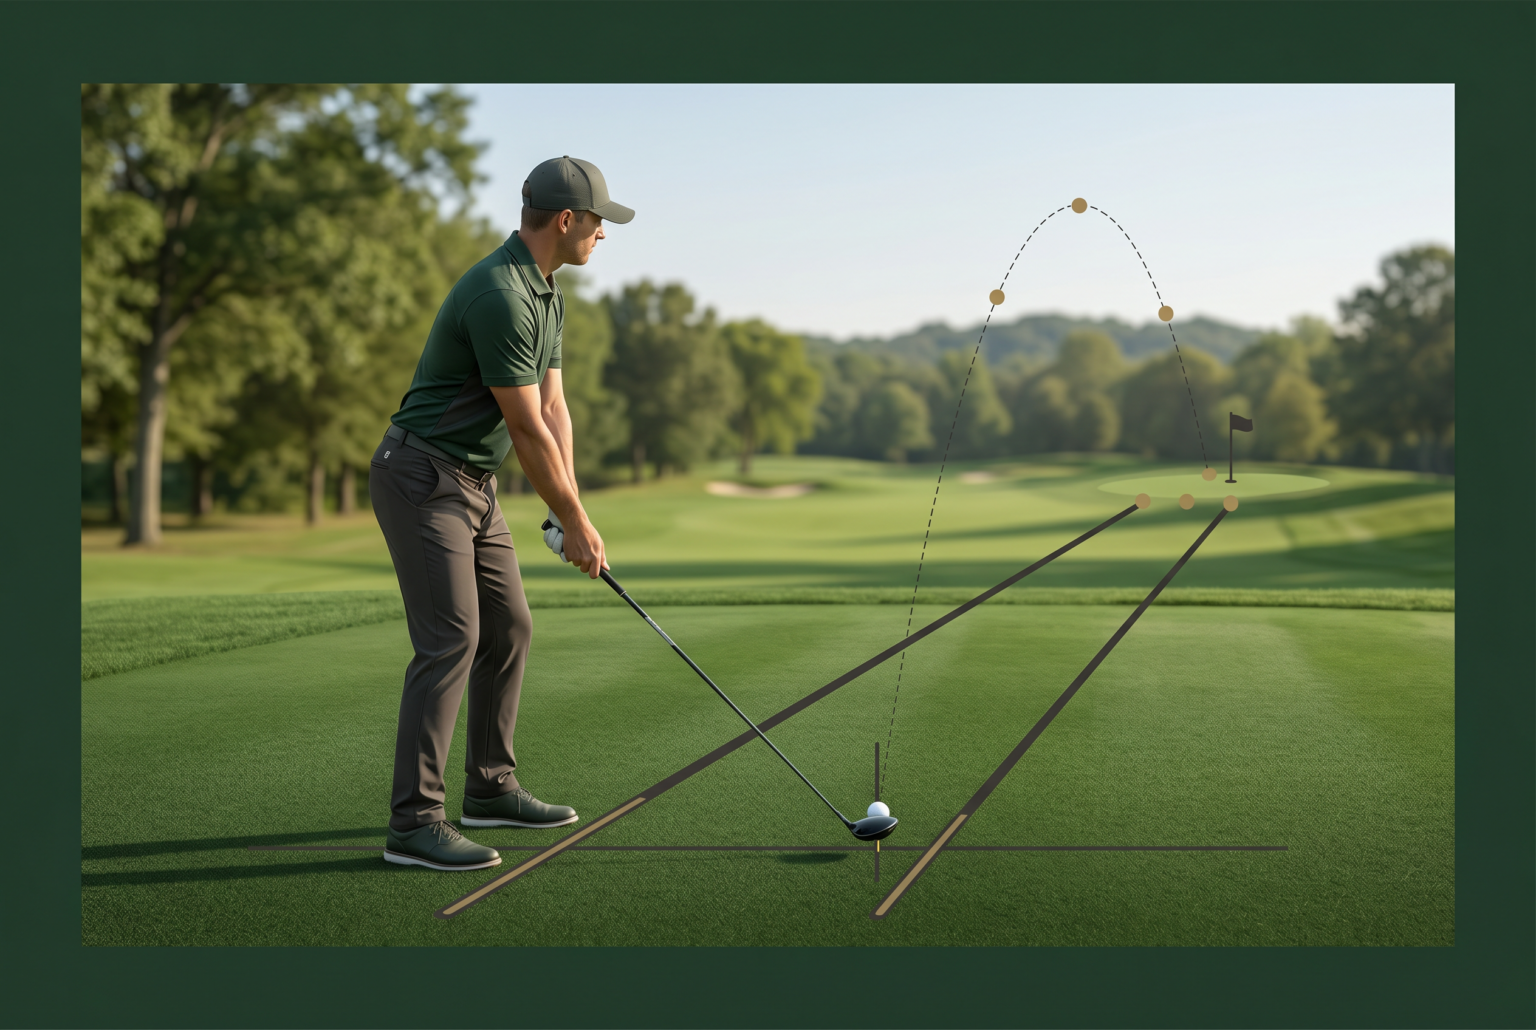
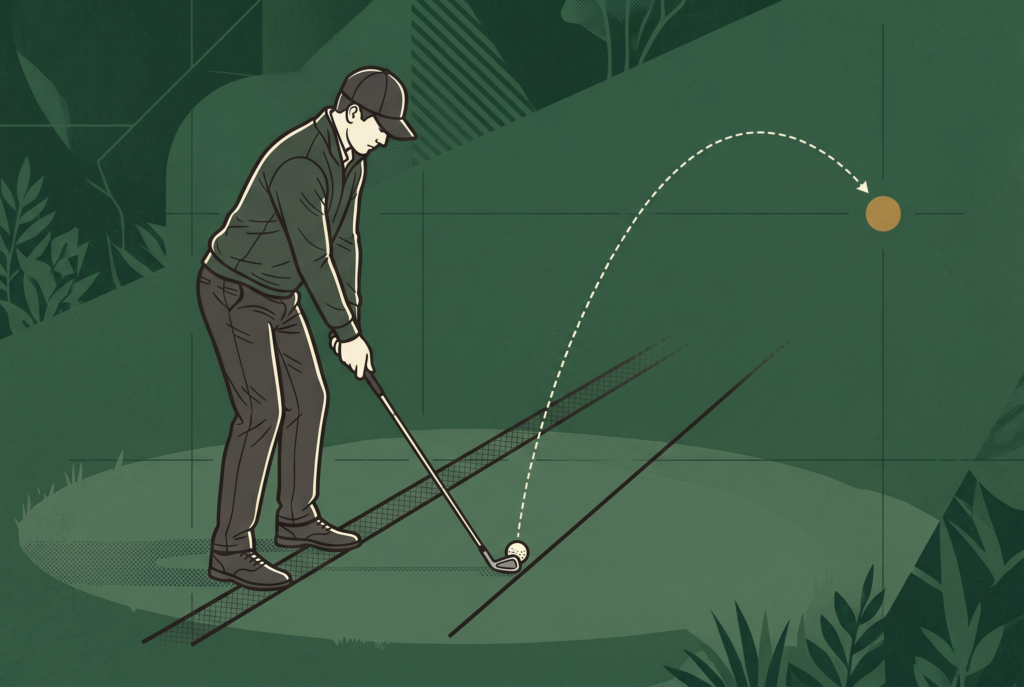
A two-line setup method for beginners
A clear, repeatable two-line setup makes alignment straightforward and quick.
- Line A – Target line: lay a club or alignment rod on the ground from the ball toward the target. This is your aim line.
- Line B – Stance line: place a second line parallel to Line A but offset by the width of your stance (about 6–8 inches). This marks where your feet, hips and shoulders should face.
- Set your feet on Line B and ensure your chest and hips point along Line A.
- Address the ball with the face square to Line A, then take a quiet practice swing to feel how your body sits on Line B while aiming down Line A.
Pro Tip. Use two sticks for every range session. The visual cue becomes automatic after a few reps.
Where to put your feet and ball relative to target
Footing and ball position influence the swing path as much as the aim does.
- Driver
- Ball positioned just inside your lead heel (roughly a thumb’s width forward of centre).
- Stance slightly wider than shoulder width; weight evenly distributed.
- Long irons (3–5)
- Ball about 1–2 inches forward of centre in the stance.
- Feet roughly shoulder width; keep your spine angle steady.
- Mid irons (6–8)
- Ball near centre of the stance.
- Maintain a balanced, quiet lower body.
- Short irons and wedges (9–PW)
- Ball slightly back of centre to promote clean contact.
- Narrow stance, but still stable; wrists deliver the clubface through the ball.
A practical note
- The body generally tracks parallel to Line B (the stance line), while the clubface aligns to Line A (the target line). Practise keeping your eyes over the ball and your head still during setup.
Pro Tip. If you’re struggling with contact, revisit Ball Position first. Small changes here pay big dividends in flight consistency.
Common aim errors and their flight patterns
- Feet and shoulders aimed left of target, but clubface square to target
- Start line drifts left; ball may fade back toward the target, or end up left of target.
- Feet and shoulders aimed right of target, but clubface square to target
- Start line drifts right; ball may slice away.
- Clubface open at address while body is aligned to target
- Ball starts right and curves further right (slice).
- Clubface closed at address while body is aligned to target
- Ball starts left and curves further left (hook).
- Reading the slope or wind while neglecting alignment
- Your aim line shifts with terrain, but your body remains off the intended line.
Pro Tip. Make misalignment a red-flag on your practice sheet. If you see a consistent miss, retrace steps with Line A and Line B before adjusting releases in your swing.
Using landmarks without getting distracted
Landmarks help you orient quickly, but too many can confuse.
- Pick one stable target feature (the flag, a distinctive tree, or a hazard edge) and align your Line A to it.
- Use one secondary reference only (a tree line on the left or right) to confirm your stance line, not to chase multiple angles.
- Ignore minor slope illusions on the day and re-affirm Line A and Line B at the moment of address.
Pro Tip. The simplest repeatable routine is: pick target landmark, confirm both lines are in place, then address and swing.
How to check alignment quickly during practice
- Quick 3-step check
- Step 1: Behind the ball, confirm Line A runs directly at the target.
- Step 2: From the side, ensure your feet and shoulders sit parallel to Line A (Line B).
- Step 3: Square the clubface to Line A and address the ball.
- Do this in less than 20 seconds per shot, then swing with intention.
- Optional tech aid
- Use a second stick to create a visible corridor for your stance; practise with eyes closed to feel the setup.
Pro Tip. Build a pre-shot routine that takes no more than 15 seconds. Consistency in setup yields consistency in outcomes.
Course application: aiming under pressure
On the course the stakes rise, and so does the need for a simple targeting process.
- Use a quick two-line check on every shot regardless of length.
- Before you swing, picture Line A (target) and Line B (your stance) in your mind, then execute.
- When facing wind or slope, reset the target line to the new direction but keep your stance parallel to it.
- If the balance is off, default to a shorter club and a safe target line rather than forcing a compromised shot.
- Mental cue
- “Aim with Line A, stand on Line B, swing on Line A.”
What's next
- Pre-shot routine and tempo for consistency