Good coaching makes improvement feel inevitable.
Ask better questions, bring the right info, and set clear improvement goals.
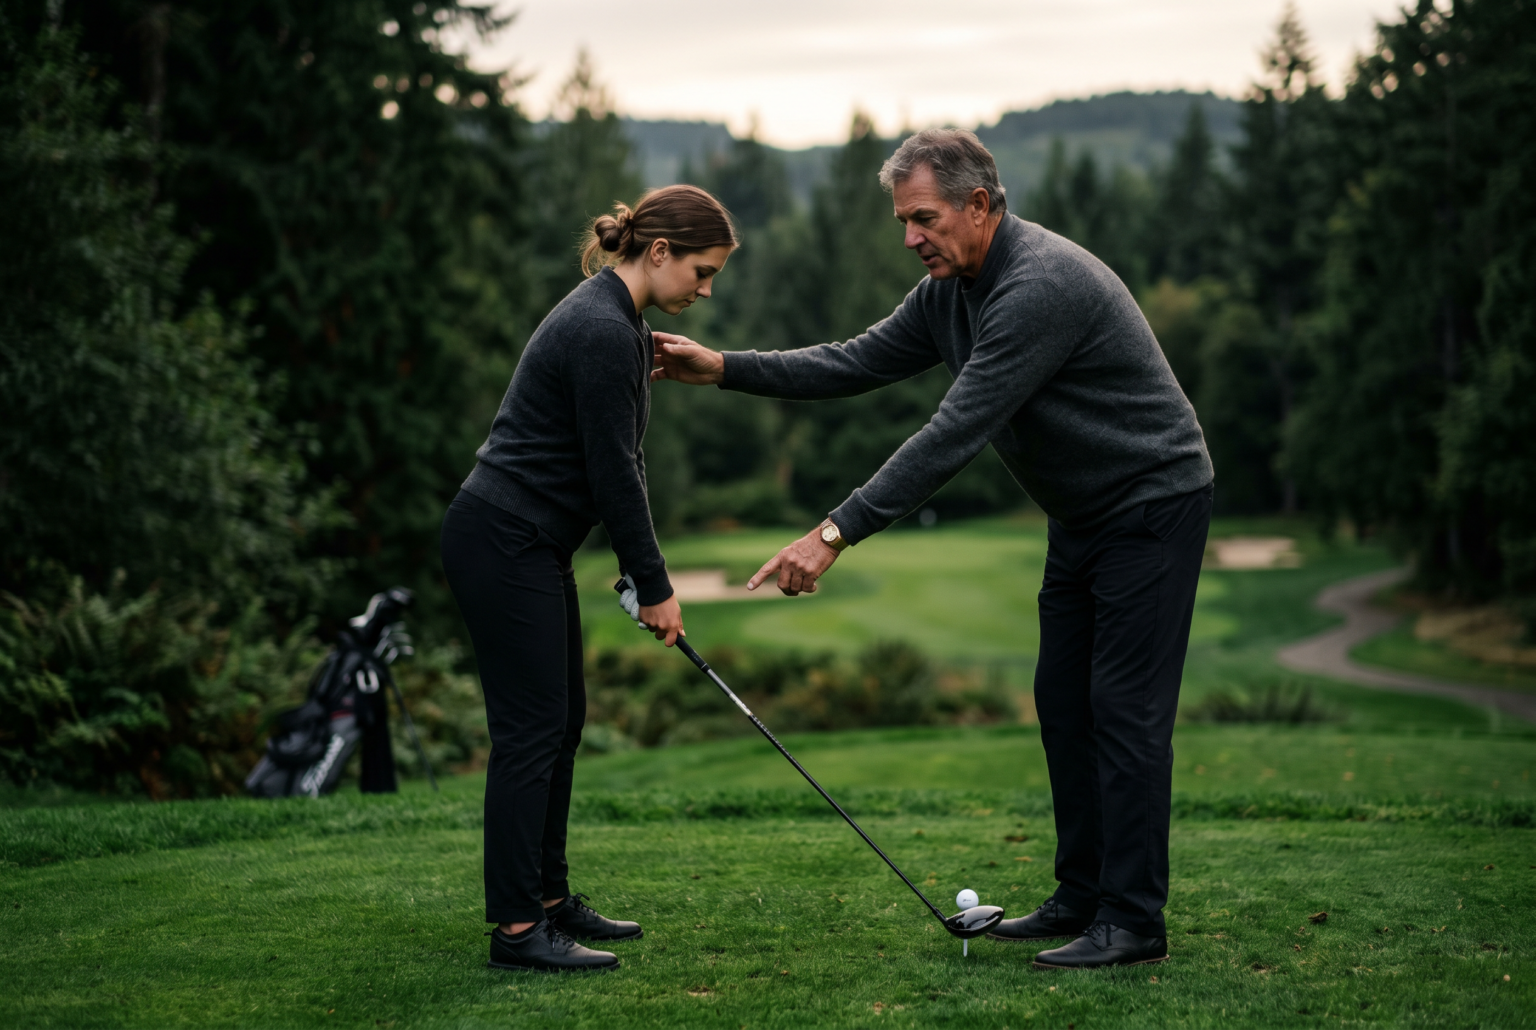
What a great beginner coach will ask you
A good coach will establish your aims, your current baseline, and your daily reality. Expect questions that map your motivation and your schedule as clearly as your swing.
- What does a good shot look like for you, and what does it feel like when you miss?
- What are your short-term and long-term goals (break 100, hit more greens, find a reliable tee shot)?
- What clubs do you use most, and what are your typical misses with them?
- Do you have any injuries or physical limitations the coach should know about?
- How much practise time can you realistically dedicate each week?
- Which part of your game do you most want to improve first — swing, short game, or course management?
Pro Tip. Answer with short, precise statements. If you can summarise a pattern in one sentence, the coach can tailor the plan quickly and accurately.
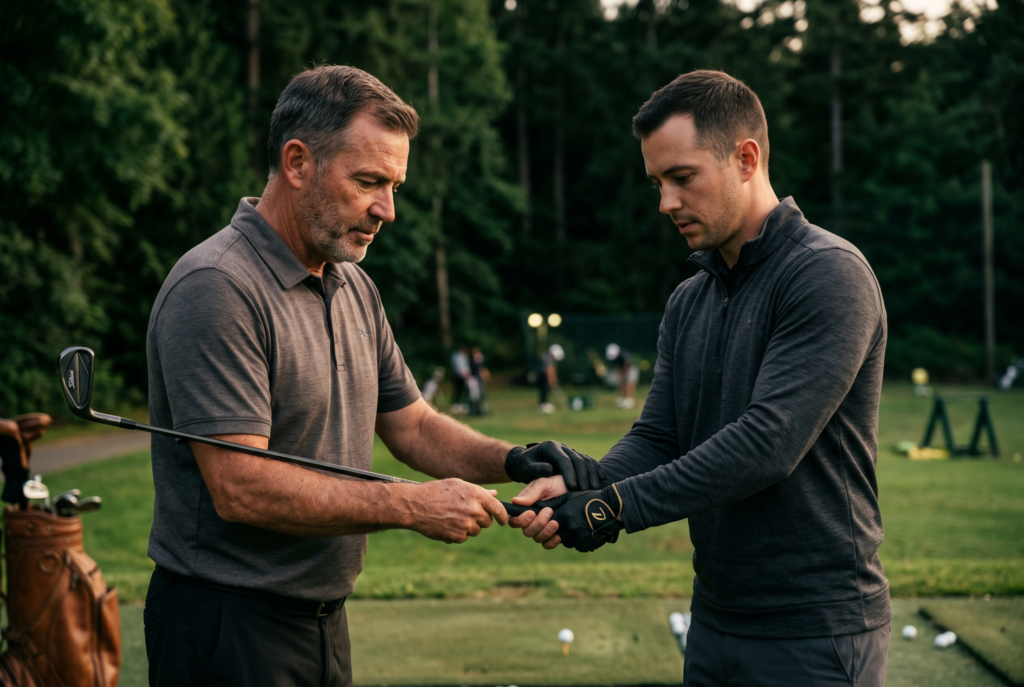
Bring your ‘data’: balls, video, and notes
Value in coaching comes from evidencing what happens on the range and on the course. Bring a compact data set that travels with you.
- Balls: bring your usual ball model (brand and exact ball name) and a few spare balls for different clubs. Consistency starts with using the same ball in practice and play.
- Video: capture your swing from at least two angles — face-on and down-the-line. Use a stable mount or a bench, shoot at 60 fps if possible, and keep shots to a clear, well-lit frame.
- Notes: carry a one-page log after each session. Record:
- Ball flight (straight, draw, fade, slice, hook)
- Contact quality (face impact location, heel vs toe)
- Feelings (grip pressure, balance, tempo)
- Quick observations (setup oddities, any pain or stiffness)
Pro Tip. A simple before-and-after video set makes the coaching results tangible. Include a single club in the frame to avoid confusion.
Your first 3 lesson objectives
Set crisp, checkable aims for the first three sessions. They keep the learning focused and the practise measurable.
- Objective 1: Establish a repeatable setup and posture for each club — feet, ball position, spine angle — with a dependable routine that you can perform on the range and on the course.
- How you’ll know you’ve hit it: similar address position across swings, and a stable spine tilt in both practice and play.
- Objective 2: Achieve consistent contact on the face with a predictable flight pattern (for example, straight to slight draw) and a clearly reduced tendency to miss off the face.
- How you’ll know you’ve hit it: fewer drastic off-centre strikes, more consistent impact location in your notes.
- Objective 3: Build a simple pre-shot routine and decision-making process that translates to on-course shots (club choice, stance width, and tempo) and helps you execute under pressure.
- How you’ll know you’ve hit it: you can perform the routine under a time constraint with minimal coaching prompts.
Pro Tip. Use a before/after comparison at week’s end. A 10–15 second video of a single club in similar conditions will reveal progress in posture, tempo, and contact.
How to choose drills that fit your body
Drills should fit your body, not the other way round. Start with a diagnosis of mobility, balance, and sequencing, then pick practices that address the root cause rather than chasing a swing fix in isolation.
- Gate drill: two sticks or alignment rods create a gate for your swing path. It helps you stay on plane and avoid over-the-top movement.
- Towel/connection drill: place a towel under your armpits or along the chest to promote connected arms and reduce excessive body-sliding.
- Pause at the top: a 1–2 second pause at the top of the backswing trains sequencing and tempo without forcing tempo changes on the ball.
- Feet-together drill: fosters balance and control, especially useful for players who tend to sway or slide during the swing.
How to choose:
- If you struggle with turning your torso or you feel tight, start with the Pause at the Top and Gate drills to build awareness and control.
- If you tend to lose posture or your arms get disconnected, begin with the Towel drill to rebuild connection.
- If balance is your issue, insert the Feet-Together drill in quiet practice before moving to a full swing.
Note: your coach may tailor drills to your specific path and posture. The aim is progress that respects your body, not a one-size-fits-all routine.
Understanding feedback: technical vs tactical
Feedback comes in two broad streams — what the swing is doing (technical) and how the shot behaves (tactical).
- Technical feedback: shaft angle at impact, wrist hinge, spine angle, plane of the swing. It’s about what the body did to produce the result.
- Tactical feedback: ball flight, direction, and distance. It’s about the result you saw and what decision led to it on the course.
How to use it:
- When a coach outlines technical changes, translate them into a concrete action you can feel (for example, “feel a square face at impact” or “keep your head steady through impact”).
- When tactical feedback dominates, link it back to your pre-shot routine and club choice, then rehearse it in your practise.
Pro Tip. Ask your coach to phrase technical cues as immediate, sensory cues you can feel on the next swing. If you can feel the cue, you can repeat it.
Homework that won’t overwhelm
There is a fine line between purposeful practice and overload. Build a small, repeatable programme you can actually fit into a busy week.
- Structure: two 10-minute blocks on the range per session, plus a 5-minute on-course drill if possible.
- Tasks (choose 2–3 per week):
- Tempo and feel: 20 slow practice swings, focusing on a stable rhythm and a two-beat tempo.
- Connection drill: 20 repetitions of the towel drill with club or iron, keeping elbows connected to your torso.
- Target practice: 10 balls with a single aim (straight flight) using one club, observing face angle and impact location.
- Video bite: one 6–8 second video after practise to review postural consistency and impact.
- Progression: every week, swap one task for a slightly more challenging version (deeper pause, narrower gate, longer hold).
Pro Tip. Keep a tiny whiteboard or notepad. Write down your two primary tasks for the week and a single measurable you’ll look for on your next visit.
How to measure progress after lesson day
Progress is a three-part equation: feel, flight, and form, all documented with consistency.
- Video diary: compare a few baseline swings with your most recent ones. Look for more uniform setup, fewer drastic changes in spine angle, and improved release timing.
- Ball flight notes: track direction, shape, and distance changes. If you’re aiming for a slight draw, note fewer slices and more controllable curvature.
- Practice log: record how often you executed your routine and drills, plus any qualitative changes in confidence or course performance.
- Short-term targets: notice quicker recovery from misses, more on-plane swings, and a calmer tempo during pre-shot routines.
Pro Tip. Score yourself on three metrics after every session: setup repeatability, contact quality, and reliability of the ball flight. Give yourself a 1–5 range for each.
Common coaching mistakes for beginners
To get the most from coaching, beware the usual traps that slow early progress.
- Too much information, too soon: a single clear cue is far more effective than a cascade of new terms.
- Forcing a drill that doesn’t fit your body: poor alignment between drill and physical capacity creates bad habits.
- Ignoring the short game and pace of play: the long game is important, but scoring happens around the greens.
- Relying on the coach for every shot: you must translate lessons into practise and on-course instincts.
- No clear goals or metrics: progress can stall if you lack a tangible target.
What to do instead: request a focused plan for each session, anchored by one technical cue and one tactical outcome, with a simple practice schedule to sustain momentum.
What’s next
A practical guide to building a productive at-home practice routine.